10 Pro Tips for Photographing Fossils Like a Pro
Embarking on a journey to capture the essence of time etched in stone? You’re in the right place. Let’s dive into the art of photographing fossils like a seasoned pro, ensuring your images are as captivating as the tales they tell.
1. Gear Essentials

Whether you’re in a dusty quarry or a hushed museum, the right gear is as crucial as the fossil itself. A DSLR or mirrorless camera with manual controls is your best bet, allowing you to adjust settings for any lighting condition.
Don’t forget a sturdy tripod (your new best friend) for those razor-sharp images. And here’s a pro tip: a polarizing filter can minimize glare on glossy specimens, making details pop like they’re jumping out of the rock!
Lenses matter, too. A macro lens is indispensable for close-ups of intricate textures, while a good zoom can capture the grandeur of larger finds. And remember, extra batteries and memory cards are like extra layers of clothing – you might not always need them, but you’ll be glad you have them when you do.
Hey hey! Don’t forget to subscribe to get our best content 🙂
2. Lighting Techniques
Lighting can make or break a fossil photo. Natural, indirect light is your ally, casting soft shadows that reveal contours. But what if Mother Nature isn’t cooperating? A portable LED panel can save the day (and your shot). Angle it to mimic sunlight, and watch those ancient grooves come to life.
Avoid using flash if possible; it’s like using a sledgehammer when you need a chisel – too harsh and unforgiving. Instead, play with diffusers or reflectors to soften and bounce light exactly where you need it. This is where your creativity shines through, sculpting with light to highlight the fossil’s unique features.
3. Choosing Angles
The angle is everything – it’s the difference between a flat rock and a window into the past. Start by shooting at eye level for a natural perspective. Then, get experimental. A bird’s-eye view can showcase a fossil’s surroundings, while a worm’s-eye view can lend a sense of majesty to even the smallest ammonite.
Remember to move around the subject. Sometimes, the best shot is found by simply shifting your position a few inches to the left or right. And don’t be afraid to go for the unconventional; an off-kilter angle might just reveal the most striking aspect of your ancient subject.
4. Macro Photography
Macro photography is a gateway to unseen worlds. It’s here that the minutiae of million-year-old life comes into sharp focus. A dedicated macro lens is your ticket to capturing textures so real, you can almost feel them. Adjust your aperture to get a wider depth of field, ensuring all those delicate details are crisp.
Stabilization is also key in macro photography. Even the slightest camera shake can turn a perfect fossil imprint into a blurry disappointment. Use a tripod, or if you’re in a pinch, improvise with a rock or your camera bag as a makeshift stabilizer.
5. Focus and Depth
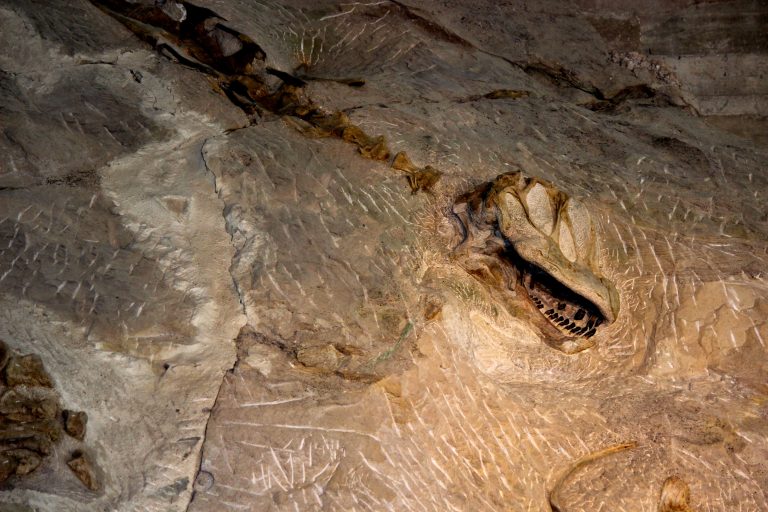
In the realm of fossils, the focus is the storyteller. Use a shallow depth of field to draw the eye to the fossil’s most compelling feature, like the serrated edge of a T-Rex tooth. Conversely, a deep depth of field brings the entire scene into focus, telling a broader story of the fossil’s resting place.
Manual focus can be your ace in the hole here, giving you complete control over the sharpness of the image. And don’t forget to check your camera’s focus peaking feature (if it has one), which can be a real lifesaver when you’re trying to nail focus on a tiny trilobite.
6. Composition Rules
The rule of thirds isn’t just for Instagram influencers; it’s a powerful tool in the fossil photographer’s kit. Imagine your frame divided into nine equal segments – placing your subject along these lines creates balance and interest. But rules are made to be broken, right? Sometimes, centering your fossil smack-dab in the middle can have a dramatic effect.
Lead-in lines can guide the viewer’s eye while framing your subject with surrounding rock can provide context. And always be on the lookout for patterns and symmetry – nature’s artwork at its finest.
7. Background Choices
A cluttered background can steal the spotlight from your fossil find. Choose backgrounds that complement and contrast with your subject. A solid, neutral backdrop can make a small fossil stand out, while a contextual background can tell the story of its discovery.
Sometimes, less is more. If you’re dealing with a busy background, open up that aperture to blur the distractions away. And if you’re in a controlled environment, bring along a few sheets of colored paper to create a makeshift studio right there in the field.
8. Post-Processing Tips
Post-processing is not cheating; it’s enhancing. Think of it as developing film in the digital age. Software like Lightroom or Photoshop can be used to adjust exposure, bring out colors, and sharpen those fine details that might have been lost in the camera.
Don’t overdo it, though. The goal is to make the image the best version of what you saw, not to create a fossil fantasy. And always shoot in RAW format – this gives you the most data to work with, making your post-processing work much more effective.
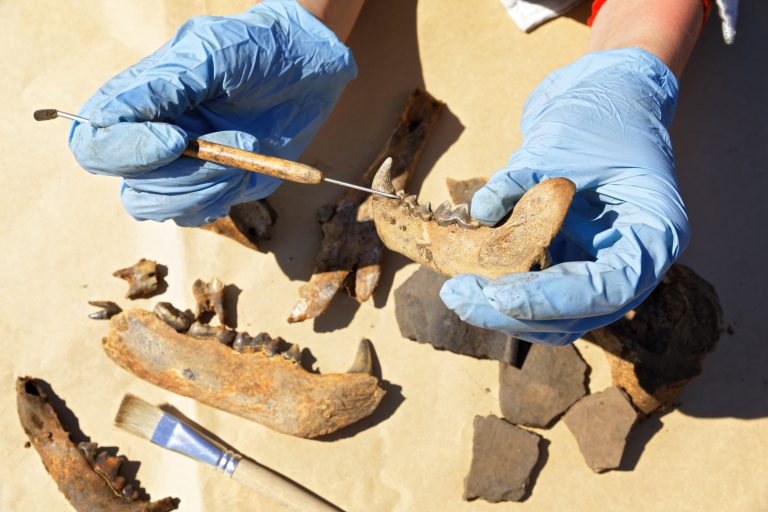
9. Preserving Details
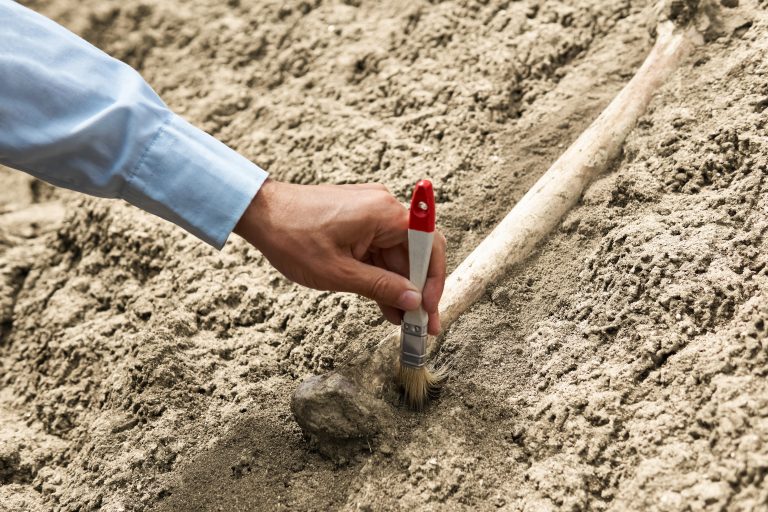
The devil, as they say, is in the details. Your job as a fossil photographer is to preserve those details for posterity. Use a brush or blower to gently remove dust or debris before shooting. And here’s a trick: a spritz of water can sometimes bring out hidden textures, just be sure not to harm the fossil.
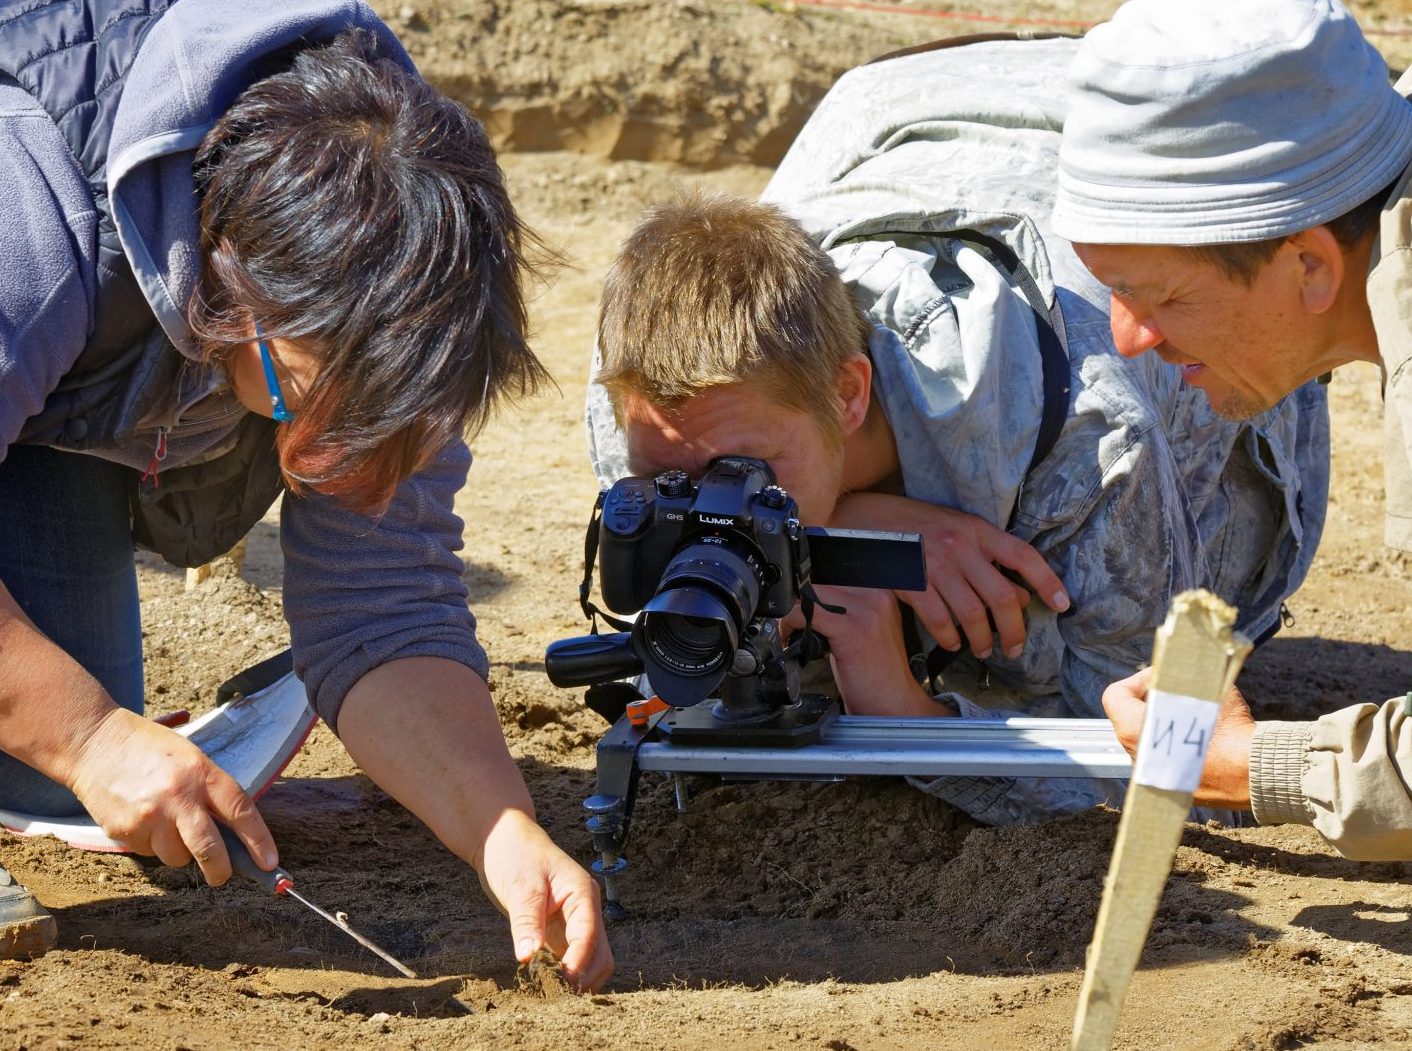
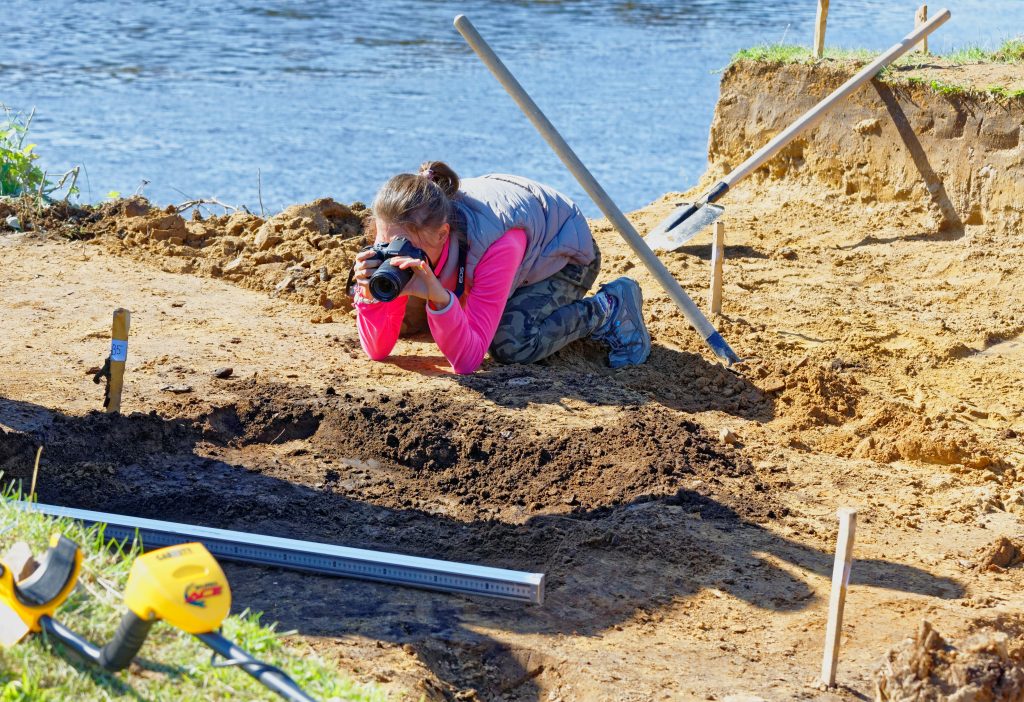
When photographing in situ, be mindful not to disturb the surrounding area. The position and condition of a fossil can provide valuable information to paleontologists, and your photographs might just become scientific records.
10. Legal Considerations
Before you go snapping away, remember that fossils are precious and often protected. Always check the local laws and regulations regarding fossil photography. In some places, you may need a permit, or photography might be restricted altogether.
Respect the rules and the science. The thrill of capturing a great photo should never come at the expense of the fossil’s integrity or legal requirements. After all, we’re just visitors in the grand timeline these fossils represent.
There you have it, ten pro tips to elevate your fossil photography from mere snapshots to masterpieces of prehistoric preservation. Armed with this knowledge, go forth and capture the whispers of ancient Earth with the reverence and skill they deserve.