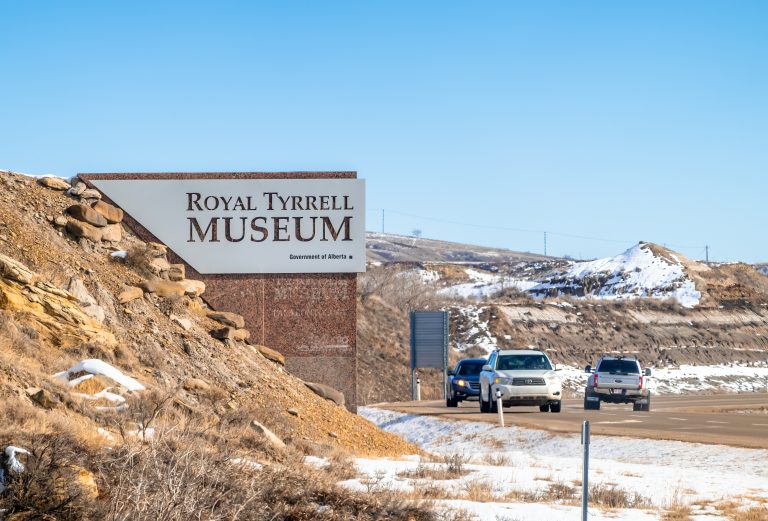
7 Essential Tools Paleontologists Use for Fossil Cleaning

Imagine unearthing a slice of ancient life, preserved for eons in the quiet earth—thrilling, right? Now, let’s talk about the unsung heroes of paleontology: the tools that transform a dusty, encrusted relic into a museum-worthy fossil.
Fossil cleaning demands patience, precision, and the right tools to preserve millions of years of history. It’s a delicate blend of science and art, where every scrape and brush uncovers ancient secrets.
Tools vary, from gentle brushes to precise chisels, each crucial for revealing the fossil’s full potential without damage. Let’s explore the essential toolkit for any fossil enthusiast.
1. Soft Brushes

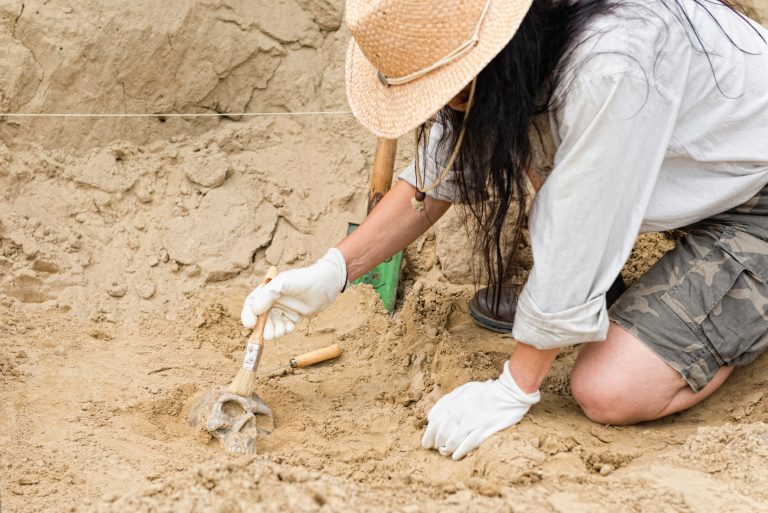
Soft brushes are like the gentle hands of a fossil’s fairy godmother. They’re perfect for whisking away loose debris without scratching the fossil’s surface. I always start with these, as they’re the kindest to the ancient remains.
Hey hey! Don’t forget to subscribe to get our best content 🙂
Natural bristles (think sable or camel hair) are typically the go-to, offering the right combination of softness and control. You’ll find paleontologists using brushes in a range of sizes, from fine-tipped for delicate work to wider brushes for clearing larger areas.
Remember, fossils can be as fragile as a house of cards, so it’s crucial to use a light touch. Brushes are the first step in revealing the wonder beneath the grime, setting the stage for the more invasive tools to come.
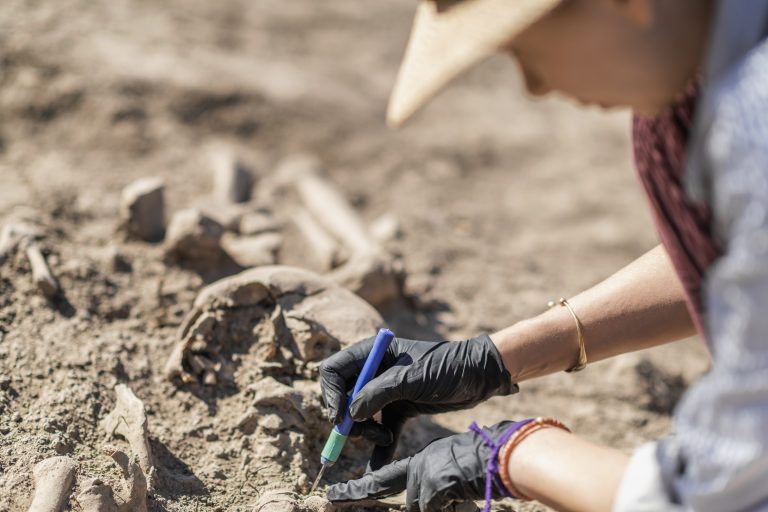
2. Precision Picks
When it’s time to get up close and personal with your fossil, precision picks come into play. These are the scalpels of the fossil world, allowing you to carefully remove matrix from the tiniest crevices without harming the precious specimen.
They come in various shapes and sizes—pointed, spatula-ended, and even hooked. It’s like having a Swiss Army knife at your disposal. I’ve spent hours, pick in hand, chipping away millimeter by millimeter, and it’s always a thrill when the fossil begins to reveal its features.
A pro tip: you’ll want to develop a feel for the rock. Some matrix crumbles easily; others require a more forceful approach. But always err on the side of caution—it’s better to take your time than to take a chunk out of your find.
3. Air Scribes
Now, let’s talk power tools. Air scribes are essentially miniature jackhammers, delivering precision blows to free fossils from their stony prisons. They’re a game-changer for tougher matrices that won’t yield to manual tools.
These pneumatic wonders come with various tips for different jobs, from broad chisels to fine points. I’ve felt like a sculptor, wielding an air scribe to chip away layers of time, revealing the contours of a long-hidden fossil.
It’s important to note that air scribes require practice to master. The vibration and noise can be intimidating, but once you get the hang of it, they’re incredibly effective. Just remember, with great power comes great responsibility (to the fossil).
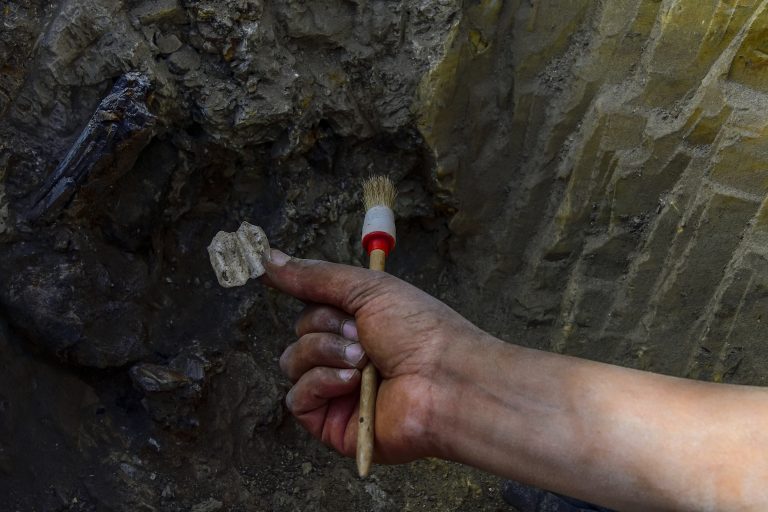
4. Dental Tools
Dental tools aren’t just for teeth—they’re a staple in the fossil cleaner’s kit. Their precision and durability make them ideal for scraping and poking around in tight spots without causing damage.
Scalers, probes, and excavators, all designed for dentistry, find a second life in paleontology. I’ve spent countless hours with a dental pick, teasing out grains of sand that seem almost fused to the fossil.
These tools are a testament to the crossover of disciplines. Who would’ve thought that tools for fighting cavities would be just as effective in fighting the ravages of time on bones and shells?
5. Micro Sandblasters
Micro sandblasters are like the magic erasers of the fossil world. They use a fine spray of abrasive particles to gently wear away the matrix, leaving the fossil untouched. It’s a bit like pressure washing your driveway but with an almost surgical precision.
These devices are indispensable for fossils with intricate details. The pinpoint accuracy can clean areas that are otherwise unreachable. I’ve watched in awe as a seemingly nondescript lump transformed into a delicate fossil fish, its scales intact, under the steady stream of a micro sandblaster.
Of course, this tool requires a delicate balance. Too much pressure or the wrong abrasive, and can damage the fossil. It’s all about the art of subtlety.
6. Chemical Solvents
Sometimes, water and elbow grease just don’t cut it. That’s when chemical solvents come to the rescue, breaking down the matrix or consolidating a fragile fossil. It’s chemistry at its finest, aiding in the preservation of prehistoric life.
Acetic acid, for instance, can help dissolve limestone matrix, while Paraloid B-72 is a go-to for stabilizing delicate specimens. I’ve seen fossils that seemed beyond repair become stable enough to handle thanks to the right chemical treatment.
But caution is key—solvents can be harsh, not just on fossils but on human health. Always use them in a well-ventilated area, and with the proper protective equipment.
7. Magnification Devices

The devil’s in the details, and that’s where magnification devices come into play. Whether it’s a simple hand lens or a sophisticated stereo microscope, being able to zoom in on the fine details can make all the difference.
I’ve spent hours under the microscope, marveling at the microstructures of fossils that are invisible to the naked eye. It’s like discovering a whole new world, one that’s been waiting patiently for millions of years to be seen.
Not only do these devices help with cleaning, but they also allow for a more detailed study of the fossil. It’s a reminder that sometimes, the most significant discoveries come from the smallest observations.
Maintaining Your Tools
A clean tool is a happy tool, and a happy tool makes for a happy fossil cleaner. Regular maintenance—like wiping down picks, oiling air scribes, and checking sandblaster nozzles—ensures that everything works smoothly when you’re in the thick of it.
I’ve learned the hard way that neglecting your tools can lead to a frustrating day on the job. There’s nothing worse than a clogged sandblaster or a dull pick when you’re inches away from revealing a fossil.
So, take the time to care for your tools. They’re the bridge between you and the ancient life you’re uncovering, and they deserve a little TLC.
Safety Tips for Cleaning Fossils
Safety might not be as exciting as uncovering a new species, but it’s paramount. Always wear protective gear—goggles, gloves, and dust masks are your best friends in the field and the lab.
Remember, some tools can be noisy, so ear protection is a must. And let’s not forget about chemical solvents—ventilation and proper handling can prevent a lot of headaches (literally).
Lastly, always be aware of your surroundings, especially if you’re working in the field. Nature’s beauty often comes with a side of danger, from cliff edges to local wildlife. Stay safe, so you can keep digging into the past.
Armed with these essential tools and tips, you’re now ready to embark on your fossil-cleaning adventure. Remember, it’s not just about the tools—it’s about the passion and patience that bring these ancient marvels back to life. Happy digging!