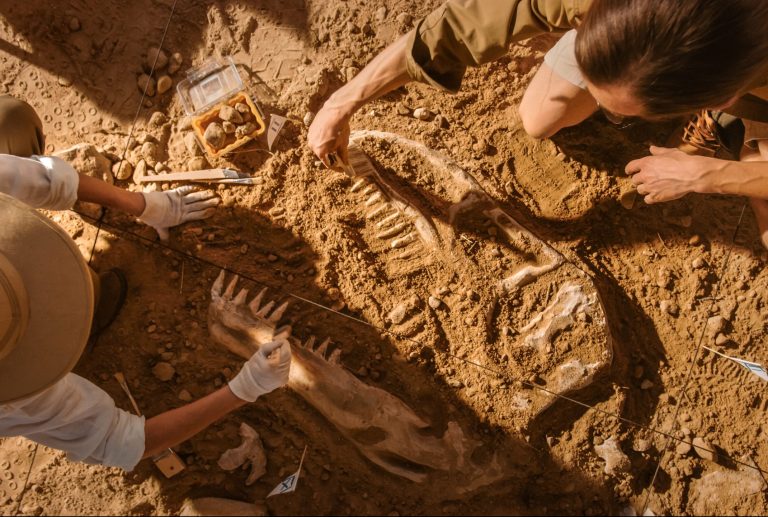
8 Essential Tools for Fossil Prep Mastery
If you’re itching to unearth the past, proper fossil preparation is your gateway to the prehistoric world. Fossil prep is both an art and a science, demanding patience and the right set of tools to reveal the secrets locked in stone.
Fossil preparation is a precise blend of artistry and science, unveiling ancient life while teetering on the edge of discovery or destruction. As a seasoned fossil hunter, I’ve learned the importance of the right tools, refined through years of experience.
Whether you’re a hobbyist or an aspiring professional, mastering the essentials of fossil prep is the key to uncovering the thrill of revealing history hidden for millions of years.
1. Selecting the Right Chisels
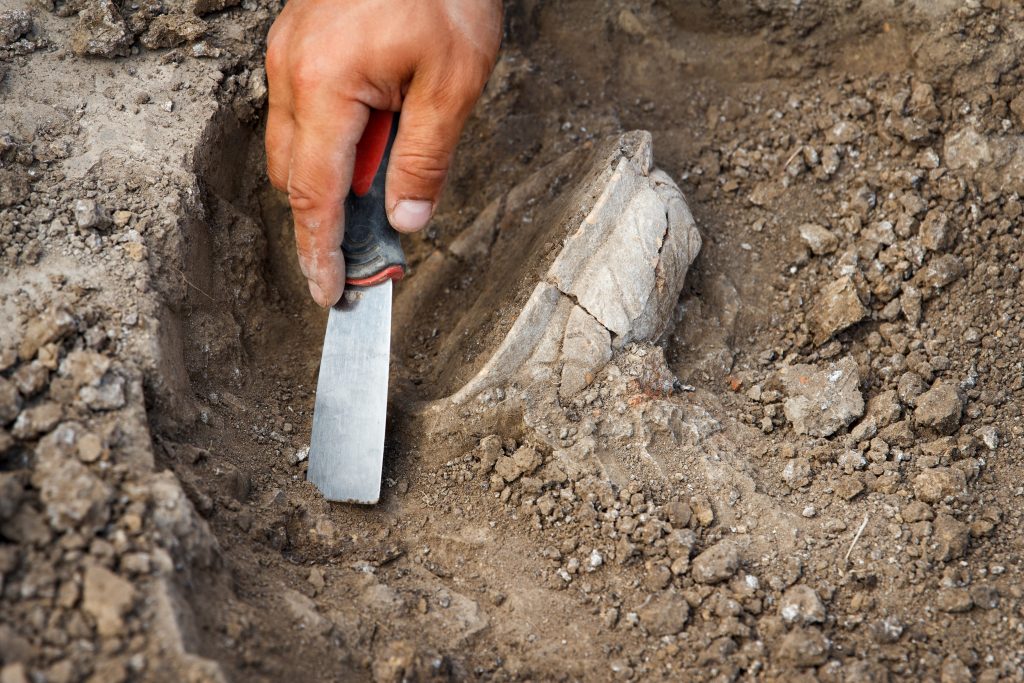
Choosing the right chisels is like picking the perfect keys to unlock the past. You’ll want a variety of sizes and shapes, each suited for different tasks. Flat chisels are your go-to for large chunks of matrix, while finer points are essential for detailed work around delicate fossils.
Hey hey! Don’t forget to subscribe to get our best content 🙂
Quality matters. Opt for chisels made from durable materials that can withstand the test of time (and rock). I once had a chisel snap right in the middle of a dig—it’s a mistake you only make once. Investing in good steel can save your fossils and your sanity.
Remember, it’s not just about power; precision is your best friend in fossil prep. A chisel wielded with skill can separate the whispers of the past from the shouts of the surrounding stone, so practice makes perfect.
2. Mastery with Air Scribes
Air scribes are like magic wands in the right hands. They use compressed air to gently chip away stone, offering a level of control that’s hard to beat. If you’re serious about fossil prep, an air scribe is a must-have.
Getting to know your air scribe is a bit like taming a wild creature. Start with lower-pressure settings and get a feel for how it responds to different types of rock. I’ve spent countless hours with mine, and we’ve been through a lot together—mostly triumphs, and a few tragedies.
Don’t skimp on quality here. A high-end air scribe can make work feel like a breeze, while a poor one can turn your prep into a nightmare. And trust me, when you’re hours into uncovering a delicate ammonite, you’ll be thanking your past self for the investment.
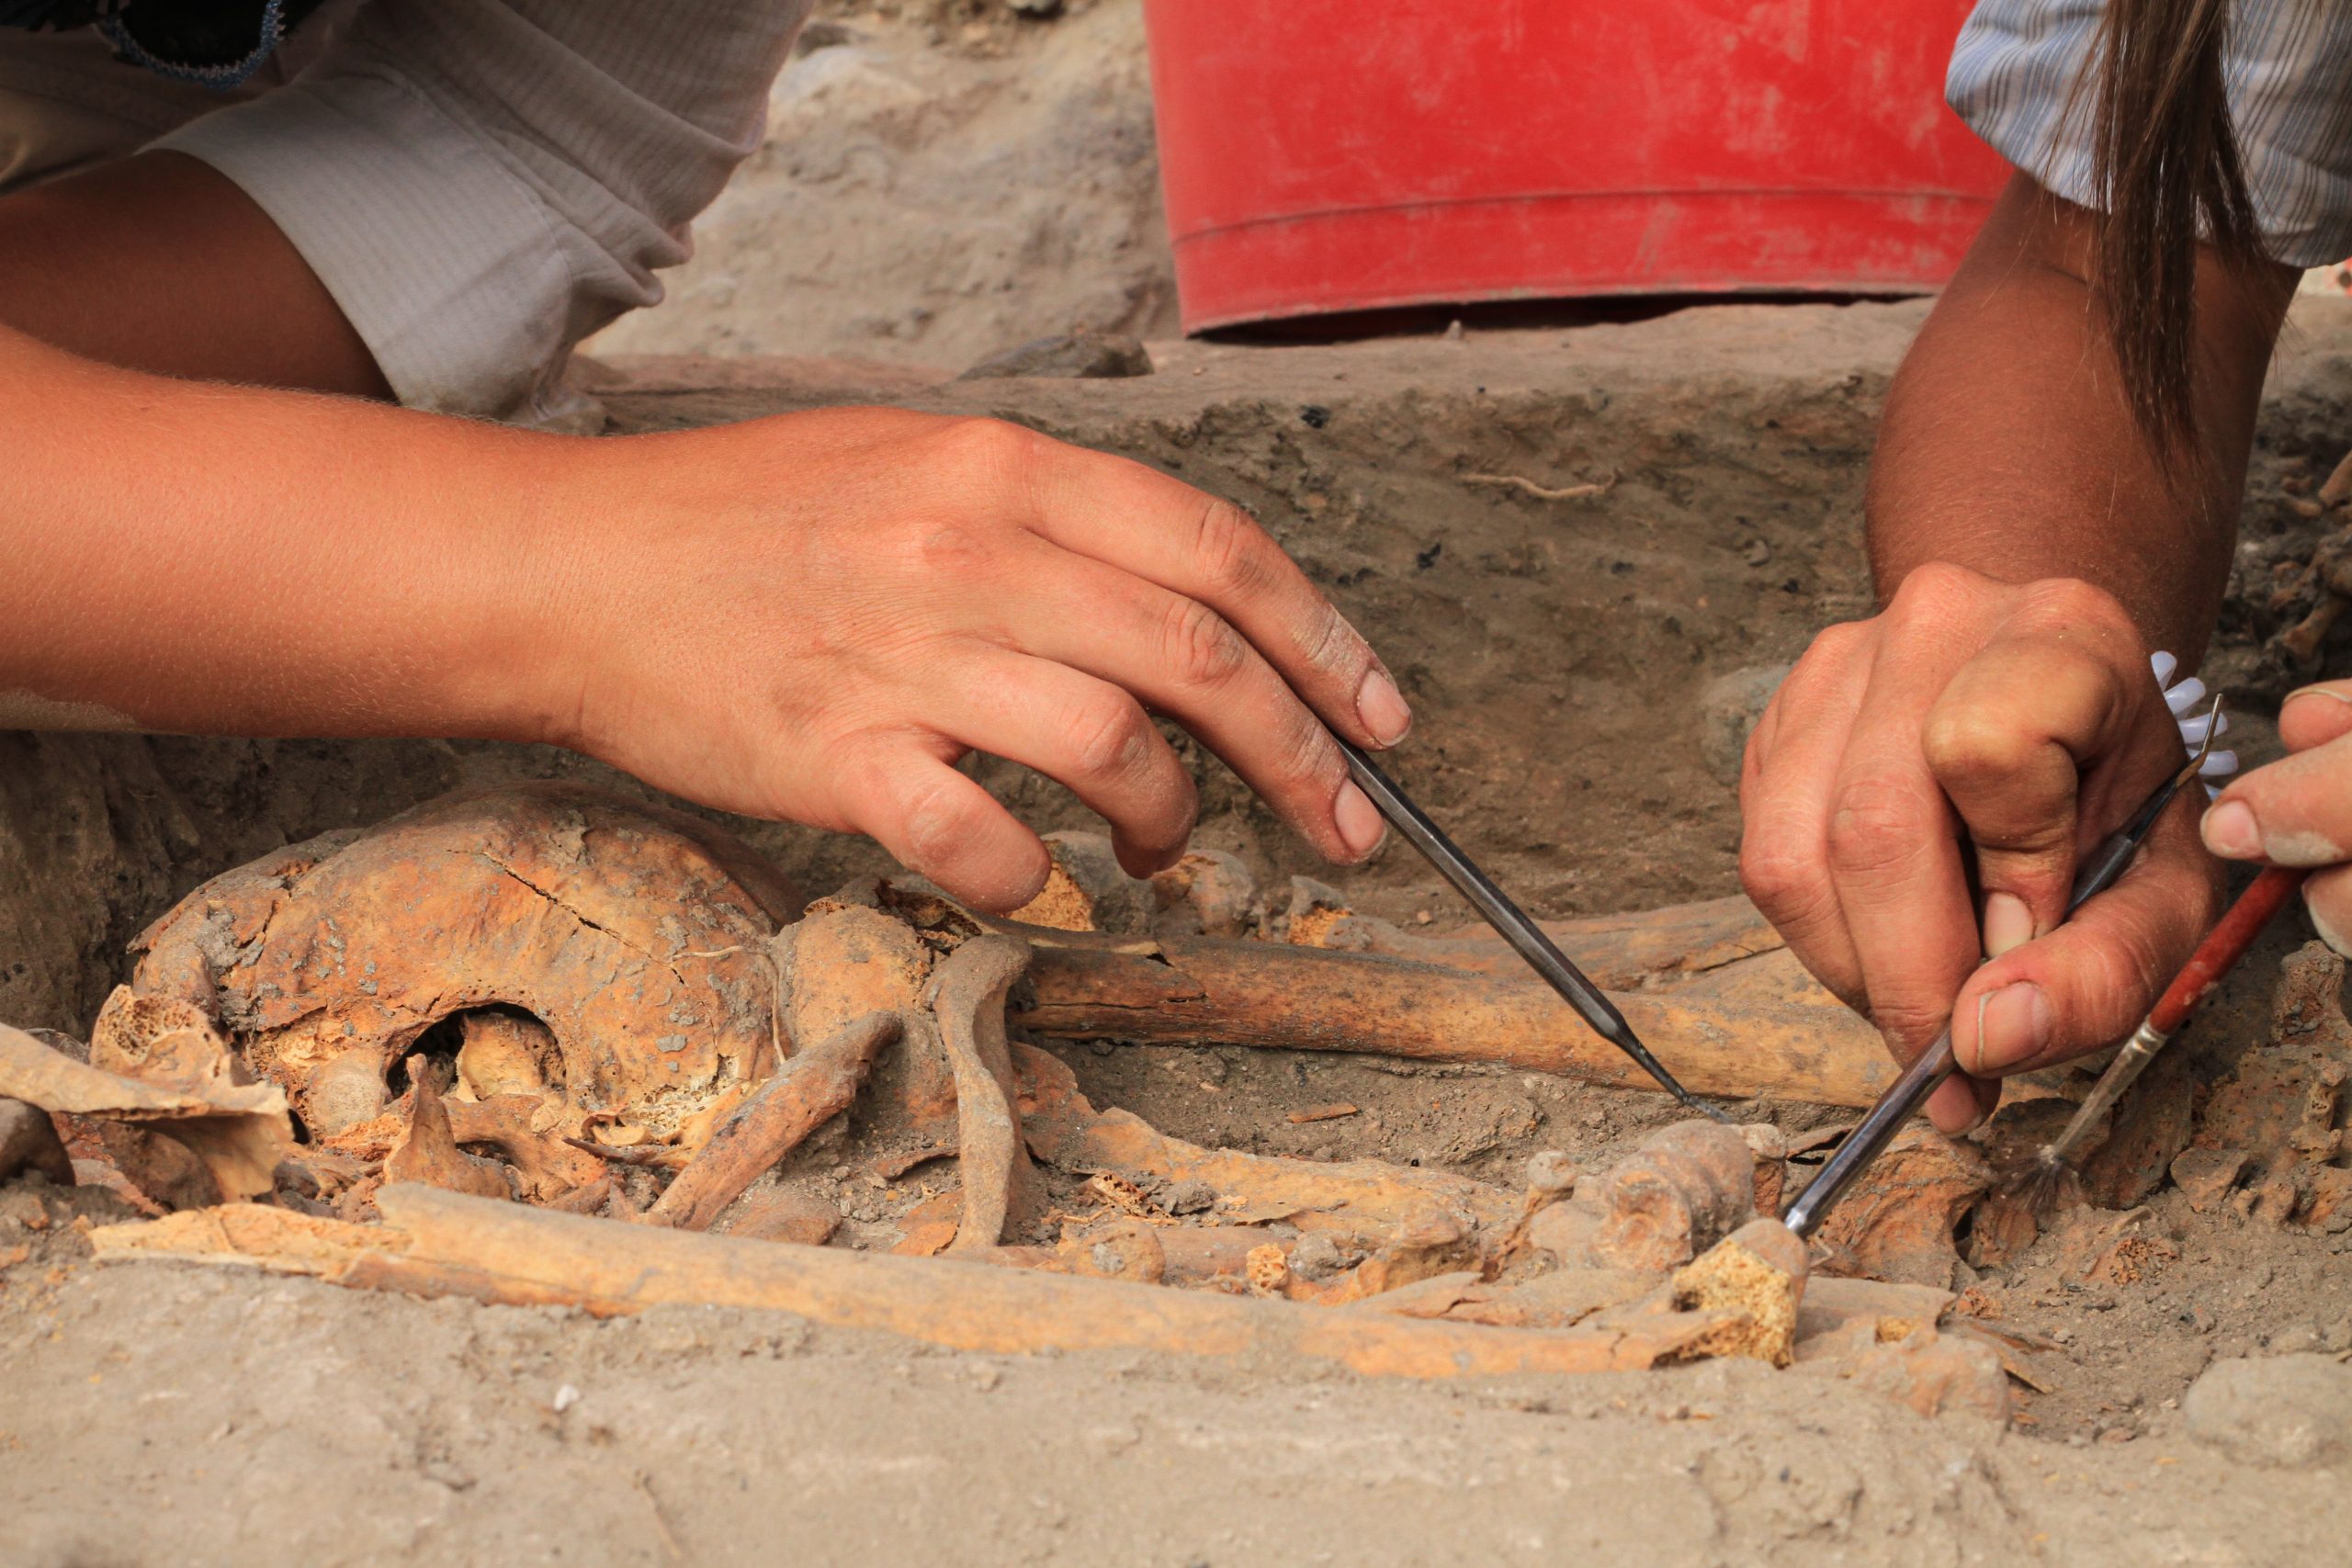
3. Using Dental Picks Wisely
Dental picks are the unsung heroes of the fossil prep toolkit. Their precision allows for the removal of the matrix from the tiniest crevices. I’ve often held my breath as I coax details from a fossil’s embrace.
You’ll want a range of picks, from sturdy to fine-tipped, to handle various tasks. The sturdy ones are great for the grunt work, while the fine-tipped picks are like the brushes of a master painter, adding the finishing touches to a masterpiece.
A word to the wise: dental picks can be sharp and unforgiving. I’ve learned that a slip can mean a scratch on your fossil—or your finger. So take it slow and steady, and always keep your focus.
4. The Role of Brushes
Brushes may seem mundane, but they’re far from it. They’re your cleanup crew, sweeping away the debris to reveal the beauty underneath. Soft brushes whisk away dust without harming the fossil, while stiffer brushes can help remove stubborn residue.
I’ve got a favorite brush that’s been with me for years. It’s nothing fancy, but it fits perfectly in my hand and knows just how to treat the fossils. It’s amazing how such a simple tool can form such an intimate part of the prep process.
Keep a variety of brushes on hand, and treat them well. After all, they’re the ones who help you make that final reveal, turning a rock into a relic worth displaying.
5. Magnification Tools
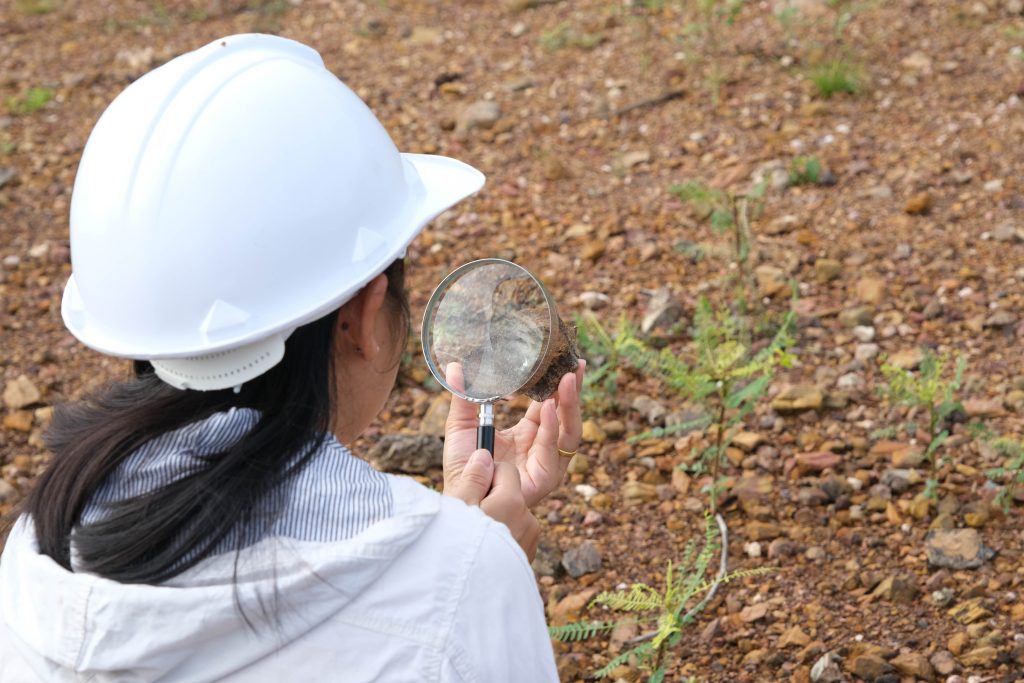
Magnification tools bring you face-to-face with the past, letting you see details invisible to the naked eye. A good magnifier or stereo microscope is essential for identifying the minutiae of your fossil finds.
I once spent an entire afternoon under my magnifier, entranced by the intricate patterns on a piece of petrified wood. It’s moments like these that magnification tools transform from simple lenses to windows into ancient worlds.
Whether you use a handheld loupe or a full-fledged microscope, ensure ample lighting. There’s nothing worse than straining your eyes while trying to discern the delicate features of your latest discovery.
6. Consolidants and Adhesives
Consolidants and adhesives are the glue that holds your work together—literally. They stabilize fragile fossils, ensuring that they don’t crumble after being exposed to the elements for the first time in eons.
Choosing the right consolidant is crucial. You’ll need something that penetrates well without discoloring the fossil. And when it comes to adhesives, strength and drying time are key. There’s nothing more frustrating than a repair that fails during the final stages of prep.
I learned the hard way that not all consolidants are created equal when a prized fossil started to flake after I used a subpar product. Since then, I’ve always double-checked my choices before applying. It’s a step that pays off in the long run.
7. Precision with Pin Vises
Pin vises are the secret weapon for precision work. They hold small drill bits, needles, or wires, allowing for fine manipulation and extraction of rock from the most delicate fossils.
I’ve used pin vises to free tiny bones from their stony prisons, and the level of control they offer is unmatched. You can feel like a surgeon, performing the most intricate of operations on your ancient patient.
Quality pin vises have a comfortable grip and a chuck that holds tightly to your tools. There’s nothing more irritating than a bit that slips at a critical moment, so invest in a reliable pin vise and it will serve you well.
8. Safety Equipment Essentials
No matter how engrossed you get in your work, safety should never take a backseat. Dust masks, safety goggles, and gloves are non-negotiables when dealing with rock particles and chemicals.
I’ve had my share of close calls—a chisel chip flying towards my eye, a rock shard almost nicking my skin. Thankfully, my trusty goggles and gloves have always been there to save the day.
Also, don’t forget to work in a well-ventilated area, especially when using consolidants and adhesives. Your lungs will thank you for the fresh air, and you’ll be able to prep fossils for many more years to come.
Fossil Prep: Tips & Tricks
Fossil prep is as much about technique as it is about tools. Always work from the outside in, gradually revealing your fossil. Patience is not just a virtue; it’s a necessity.
Keep your tools sharp and clean for the best results. A dull chisel or a dirty air scribe can cause unnecessary damage. And remember, sometimes taking a break can give you a fresh perspective on a stubborn piece of matrix.
Lastly, don’t be afraid to ask for advice from the community. We’ve all been beginners once, and the collective wisdom of fellow fossil enthusiasts can be invaluable. After all, we’re all in this quest together, piecing together the stories of our planet’s past.
Fossil prep is a journey of discovery, filled with challenges and rewards. With these essential tools and tips, you’re well on your way to mastering the craft and perhaps, one day, making a mark on the history of paleontology itself.