2 Key Types of Fossil Preparation Unveiled
Imagine uncovering the remains of ancient life etched in stone – a thrilling prospect for any adventurer. Fossil preparation, the meticulous art of revealing these natural treasures, is as much about patience as it is about precision. Let’s delve into the two primary methods that bring the past to life.
Fossil preparation is a delicate blend of science and art, akin to revealing a sculpture from marble. Skilled preparators spend countless hours delicately removing surrounding rock without harming the fossil. Each brush stroke or tap of the chisel is crucial, as it can make or break the discovery.
While it may seem tedious to some, for those involved, uncovering prehistoric life is nothing short of magical. The anticipation of each layer’s removal holds an air of excitement, freezing a moment in time waiting to be rediscovered.
Understanding Fossilization Processes
Fossilization is nature’s way of keeping a record; it’s a rare occurrence that requires a perfect storm of conditions. Organic material must be quickly buried under sediment, slowing decay and allowing minerals to replace the organic structures over millennia. It’s a bit like the process of making a fancy gelatin mold, but instead of fruit suspended in Jell-O, we get bones in stone.
Hey hey! Don’t forget to subscribe to get our best content 🙂
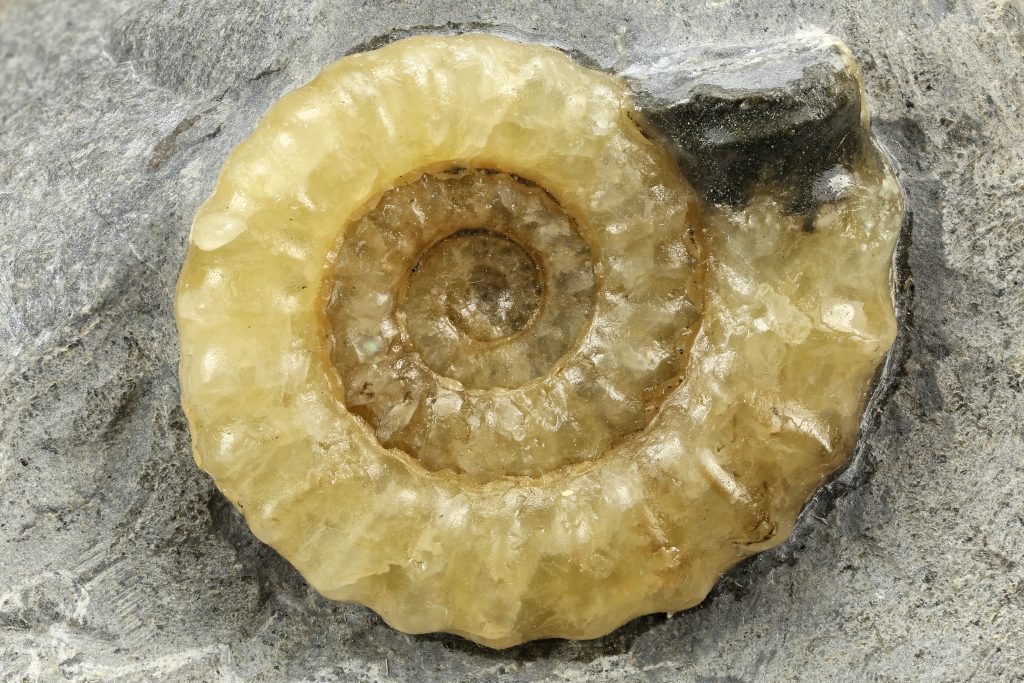
There are several types of fossilization, including permineralization, where minerals seep into the microscopic spaces within an organism’s hard tissues, and amber preservation, where insects are trapped and preserved in tree resin. Each type of fossilization can affect how a fossil is prepared; knowing whether you’re dealing with a delicate leaf or a robust dinosaur bone is crucial.
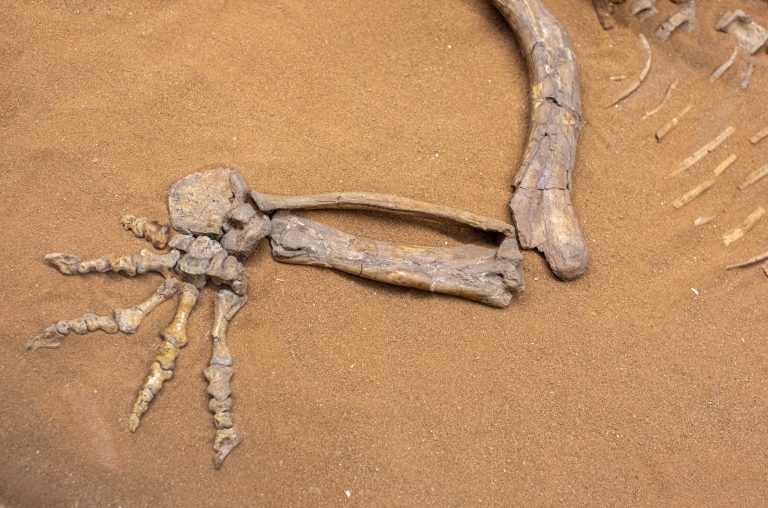
Fossils are the closest thing we have to a time machine, offering a glimpse into ecosystems long gone. They tell stories of evolution, migration, and even extinction. But before they can narrate these tales, they must be freed from their stony prisons, requiring the deft hands and sharp eyes of a preparator.
Mechanical Preparation Explained
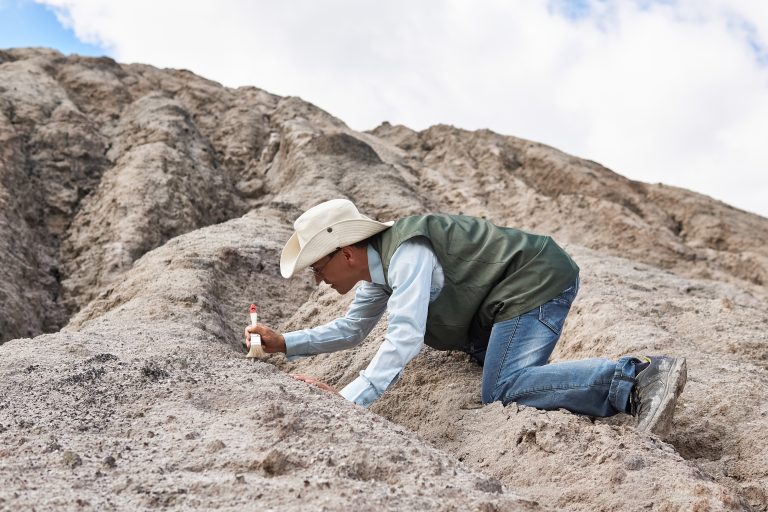
Mechanical preparation is the hands-on, elbow-grease method of fossil prep. It’s about as close as you can get to the feeling of being a paleontologist without actually being one. You’re there with your tools, chipping away at history, inch by painstaking inch.
The goal of mechanical preparation is to remove the matrix surrounding the fossil without damaging it. This can be like trying to extract a chocolate chip from a cookie without breaking the chip – it requires a gentle touch and a lot of patience. But when you do it right, and that fossil starts to emerge, it’s incredibly rewarding.
Over the years, I’ve spent hours hunched over workbenches, coaxing fossils out of their rocky beds. There’s a rhythm to it – tap, brush, examine – that becomes almost meditative. And when the first contours of an ancient creature appear, it’s hard not to feel a connection to the life that once was.
Tools for Mechanical Preparation
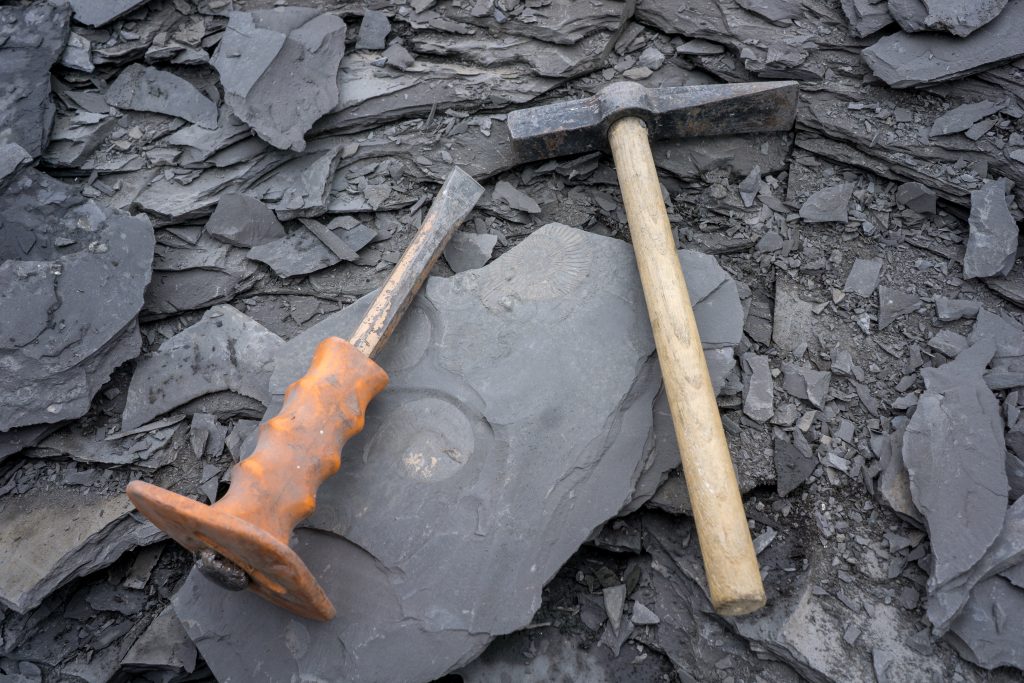
The tools of the trade for mechanical preparation are as varied as the fossils themselves. At the delicate end of the spectrum, we have fine needles and brushes that can tease out the finest details. For the tougher jobs, there are air scribes and pneumatic chisels that act like mini jackhammers, breaking away the hard matrix.
My personal favorite is the air abrasion unit, a device that blasts a fine powder at the fossil, eroding the matrix like a gentle sandstorm. It’s mesmerizing to watch the fossil slowly emerge from the dust. And there’s something incredibly satisfying about wielding these tools, each one an extension of the preparator’s own hands.
For those starting, even something as simple as a dental pick can be a trusty companion. (I’ve spent more time with mine than I care to admit.) It’s not about having the fanciest equipment; it’s about understanding the material you’re working with and choosing the right tool for the job.
Chemical Preparation Techniques
When mechanical methods meet their match, chemical preparation comes into play. This is the realm of solvents and acids, where fossils are bathed in science to reveal their secrets. It can feel like alchemy, turning stone to bone with a drop of liquid.
Chemical prep is often used when the matrix is too stubborn or the fossil is too delicate for mechanical methods. Acids can dissolve limestone, freeing the fossil within, while consolidants can penetrate and strengthen fragile remains. It’s a delicate balance between destruction and preservation, and getting it right takes a keen understanding of chemistry.
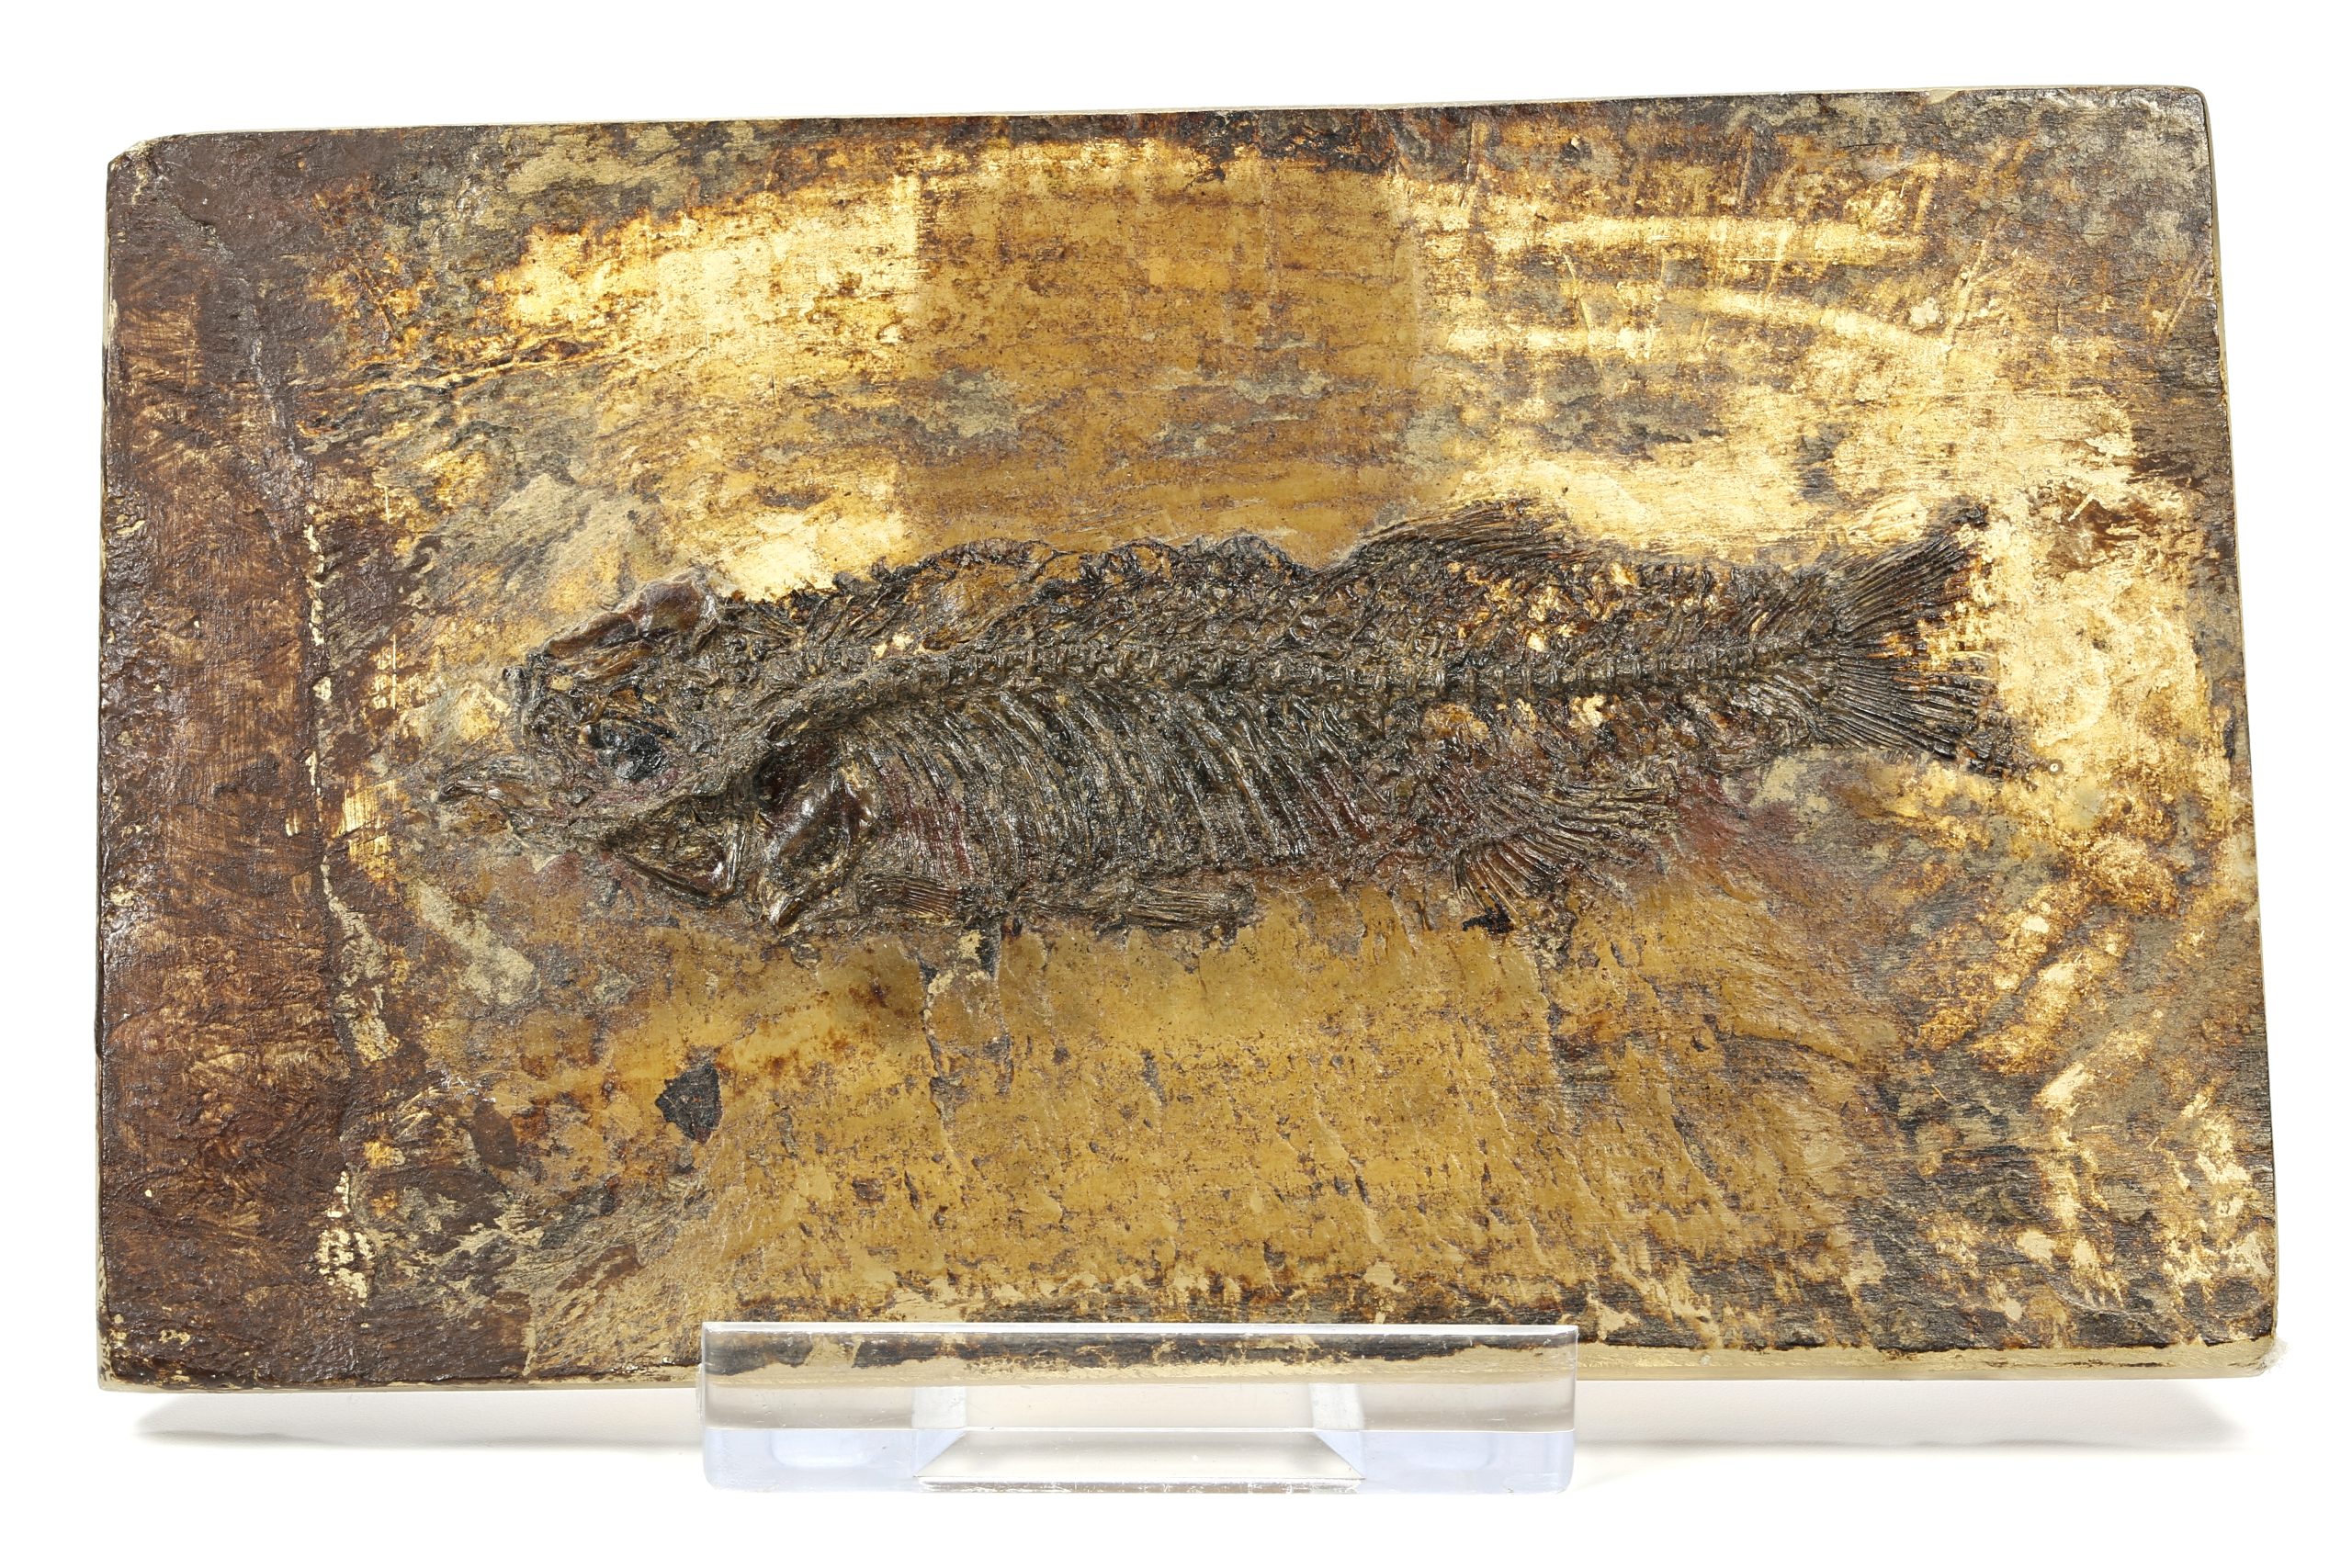
One of my most memorable moments was watching a fossil fish emerge from a limestone block as it bathed in a weak acid solution. It was like watching a photograph develop, the form of the fish slowly becoming clear as the minutes ticked by. It’s one of those things you have to see to believe.
Chemicals Used in Fossil Prep
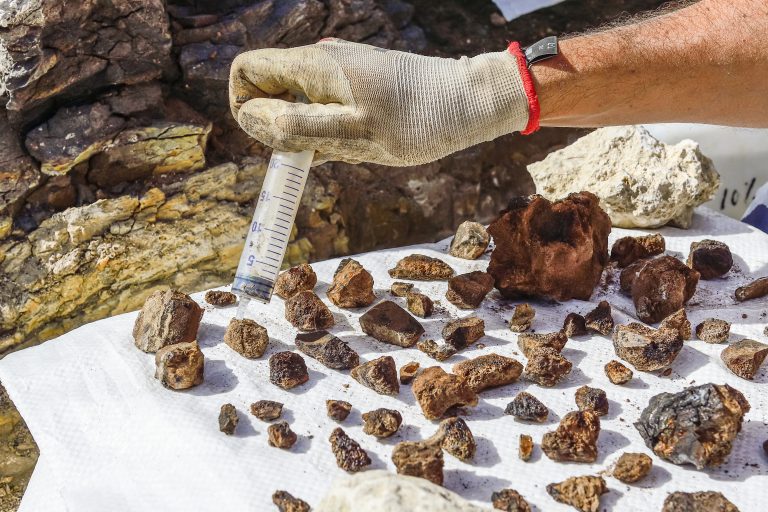
In the chemical toolkit, we have stalwarts like acetic acid, which can gently eat away at limestone, and polyvinyl butyral, a resin that can stabilize and protect delicate fossils. There’s also the ever-popular cyanoacrylate – super glue to you and me – which can be a lifesaver for putting fragmented fossils back together.
For those tough carbonate matrices, formic acid can be a godsend, but it’s not something to be trafficked with. Safety gear is a must when using these chemicals. And then there are the more specialized concoctions, like the deconcretion agents that can selectively dissolve certain minerals, leaving others untouched.
It’s a bit like being a chef, mixing just the right ingredients to create the perfect dish. But instead of a meal, the end product is a fossil ready to share its story with the world. (And trust me, you don’t want to taste these recipes!)
The Art of Revealing Details
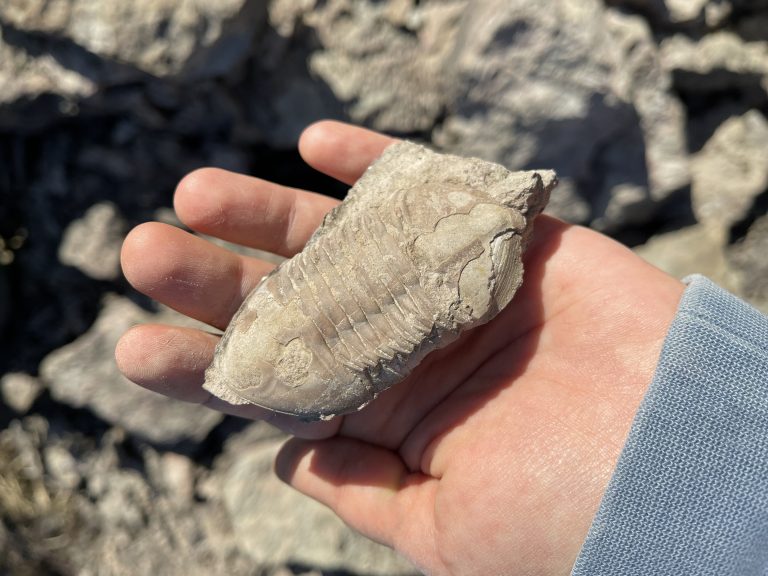
The art of fossil preparation is in the details. It’s the fine lines of a feather or the serration on a tooth that tell the full story of a creature’s life. These details can be the difference between a fossil being a scientific treasure and just another rock.
As a preparator, I’ve learned to look for the subtleties – the slight variations in texture, the way the light catches on a curve. It’s these nuances that can indicate the presence of something remarkable. Revealing them requires a blend of skill, patience, and an understanding of the organism you’re working with.
Sometimes, it’s the smallest detail that provides the biggest breakthrough, like the wear pattern on a tooth that reveals a dinosaur’s diet. It’s a reminder that in this field, it’s often the little things that count the most.
Safety Measures in Fossil Prep
Safety in fossil preparation cannot be overstated. Whether you’re chipping away rock with a hammer and chisel or using acids to dissolve matrix, the potential for harm is always present. Preparators must be vigilant, always respecting the tools and chemicals they work with.
Personal protective equipment is the order of the day: gloves, goggles, and masks are a preparator’s best friend. Ventilation is crucial when working with chemicals, and a well-organized workspace can prevent accidents. It’s not the most glamorous part of the job, but it’s essential.
I’ll never forget the day a colleague of mine got a bit too cavalier with a chisel and ended up with a splinter of rock in his thumb. It was a painful lesson in the importance of focus and the right protective gear. Since then, I’ve been a stickler for safety – better safe than sorry, as they say.
Case Studies: Successful Preparations
Over the years, there have been some standout moments in fossil preparation that have made waves in the scientific community. Take for example the discovery of a nearly complete Archaeopteryx, the transitional fossil between dinosaurs and birds. Its preparation revealed feather impressions that have reshaped our understanding of avian evolution.
Another case is the preparation of the ‘Fighting Dinosaurs’ – a Velociraptor and Protoceratops locked in combat. The preparators’ painstaking work exposed the incredible details of this prehistoric struggle, frozen in time for over 70 million years. It’s a testament to the preparators’ skill and patience.
And let’s not forget the myriad of small mammal fossils that, once prepared, provided invaluable insight into the Cenozoic era’s ecosystems. These tiny bones, often overlooked, have been instrumental in piecing together our planet’s past.
Preserving Fossils Post-Preparation
Once the preparation is complete, the work isn’t over. Fossils must be preserved to ensure they survive for future generations to study and admire. This often involves applying consolidants to strengthen the fossil and creating custom mounts or storage solutions to prevent damage.
Climate control is key in preserving fossils long-term. Fluctuations in temperature and humidity can spell disaster for delicate specimens. It’s like keeping a fine wine – you wouldn’t just leave it out on the kitchen counter, would you?
The final step is often documentation – photographing, measuring, and describing the fossil in detail. This information becomes part of the scientific record, allowing others to study the specimen without having to handle it. It’s about passing on knowledge, ensuring that the stories these fossils tell endure.
Fossil preparation is the meticulous process that unveils Earth’s history. Each fossil, revealed through mechanical or chemical methods, adds a chapter to our planet’s story. Carry with you a newfound appreciation for the artistry and science breathing life into the ancient world.