10 Essential Steps to Preparing a Fossil Like a Pro

Imagine the thrill of uncovering ancient secrets buried for millennia – that’s the life of a fossil enthusiast. In this guide, I’ll walk you through the steps to preparing a fossil with the finesse of a seasoned pro.
Step 1: Gather Your Tools
Before you set off on your fossil adventure, make sure your toolkit is up to snuff. You’ll need a variety of brushes, from soft to stiff-bristled, picks, chisels, and hammers. (Think of it as a dentist’s kit for the Earth’s teeth!) Remember, the goal is precision, so don’t skimp on quality.
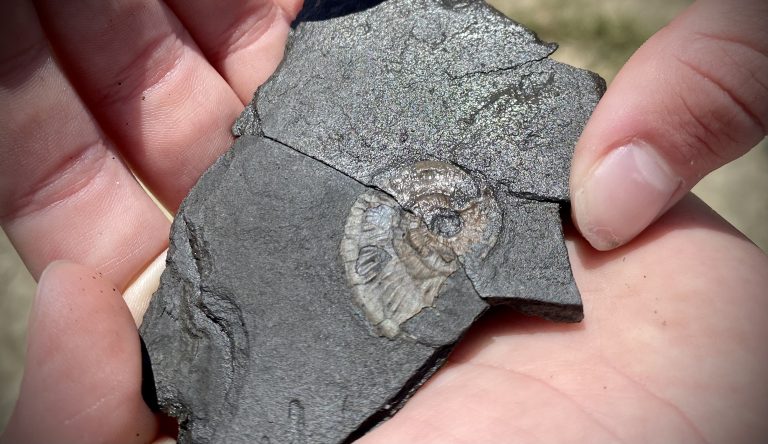
I learned the hard way that a butter knife just doesn’t cut it when you’re trying to extract a delicate ammonite from its stony prison. For delicate work, magnification tools and a good headlamp are indispensable – you don’t want to miss the finer details. Lastly, pack your safety gear; gloves and goggles are not just a fashion statement, they’re your first line of defense against rogue rock chips.
Step 2: Locate the Fossil
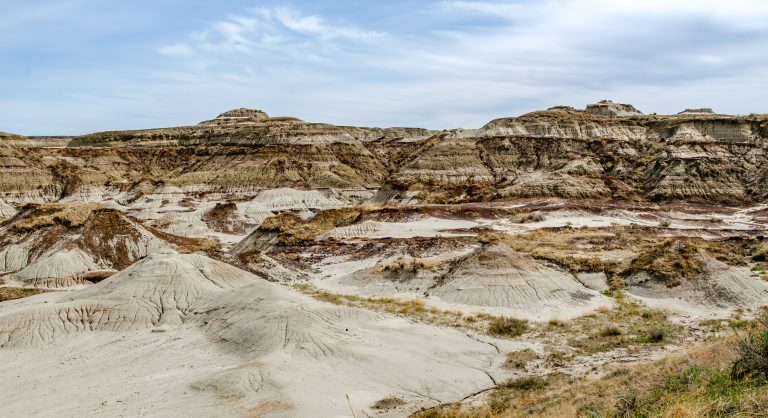
Finding fossils is part art, part science, and a whole lot of patience. Research is key – dig into geological maps and scientific papers to find promising sites. Once you’re in the field, keep your eyes peeled for tell-tale signs: odd shapes, unusual textures, or patterns in the rock that scream “I’m not just another pebble!”
Hey hey! Don’t forget to subscribe to get our best content 🙂
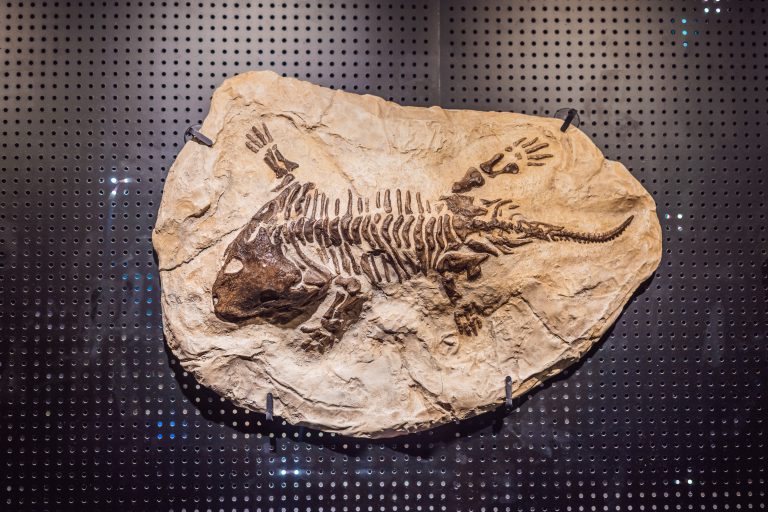
I remember one time I almost overlooked a fossil because it looked like an ordinary rock; turns out, it was a fragment of a dinosaur bone. It’s also important to respect property rights and protected areas. Always get permission before you start chiseling away at history.
Step 3: Careful Excavation

Excavation is a slow dance between you and the rock. Start by removing the excess material around the fossil. Use your chisels and hammers with care, as if you’re sculpting a masterpiece. I once tapped too hard and split a fossil in two – a rookie mistake I’ll never forget.
As you get closer to the fossil, switch to finer tools. This is the stage where patience pays off; rushing can lead to damage that’s impossible to repair. It’s a bit like defusing a bomb, except instead of an explosion, the worst outcome is the loss of a priceless piece of history.
Step 4: Cleaning the Specimen
Cleaning is where things get messy, but it’s also incredibly rewarding. Begin with brushes to sweep away loose dirt and debris. If the fossil is particularly grubby, you might need to use gentle tools like wooden picks or air scribes to remove stubborn material.
Remember, it’s a labor of love; take your time. (Once, I spent hours cleaning what I thought was dirt, only to discover it was part of the fossil itself!) For really tough cases, chemical baths can be employed, but only if you know what you’re doing – otherwise, you might end up with a fossil soup.
Step 5: Stabilizing the Fossil
Stabilization is the unsung hero of fossil prep. It’s not glamorous, but without it, your fossil could crumble to dust. Use consolidants like paraloid or cyanoacrylate to strengthen fragile areas. It’s a delicate balance; too little and the fossil remains vulnerable, too much and you might obscure details.
I’ve seen fossils go from precarious to preserved with just a few careful applications. Once stabilized, the fossil can be handled more confidently, but always with the reverence it deserves.
Step 6: Documentation Process
Document every step like a detective at a crime scene. Photographs, notes, and sketches are your best friends. In my field notebook, I jot down everything – from the fossil’s orientation in the ground to the weather that day.
It might seem overkill, but these details can be crucial for scientific research. Plus, if you ever need to retrace your steps, you’ll be glad for the meticulous records. Remember, in paleontology, the context can be just as important as the fossil itself.
Step 7: Restoration Techniques
Sometimes, fossils need a little TLC to bring them back to their former glory. Restoration should always respect the fossil’s integrity. Use materials that are reversible and distinguishable from the original – it’s about honesty in presentation.
I’ve seen restorations that are works of art, seamlessly blending the lines between past and present. But caution is key; an overzealous restoration can be as damaging as the ravages of time.
Step 8: Preserving for Display
Displaying your fossil is the victory lap in this marathon. Choose a method that supports the fossil without stressing it – custom mounts are great for this.
Consider the lighting and humidity in your display area; these factors can affect the long-term health of your specimen. And let’s not forget about labeling – it’s not just a chunk of rock; it’s a story millions of years in the making. Present it with the pride it deserves.
Step 9: Ethical Considerations

Ethics in fossil preparation are paramount. Always consider the scientific value of your findings. It’s not just about owning a cool piece of history; it’s about what that piece can teach us. I’ve grappled with the decision to donate significant finds to museums – it’s tough, but the research potential often outweighs personal gain.
Additionally, never buy or sell fossils illegally. The black market for fossils is not only unethical, it’s destructive to our collective heritage.
Step 10: Continuing Education
The field of paleontology is ever-evolving, and so should your skills. Attend workshops, read scientific literature, and connect with the community. Every fossil I prepare teaches me something new, and I’m constantly amazed by the innovations in preparation techniques. Remember, there’s always more to learn, and that’s what makes this journey so exciting. Stay curious, stay humble, and keep digging!
From the first brushstroke to the final display, preparing a fossil is a journey through time that requires skill, patience, and respect for the past. Dive into this fascinating world with an open mind, and who knows what ancient wonders you’ll bring to light.